Showing posts with label My Projects. Show all posts

Monday, March 3, 2014

DIY Painted Laminate Countertop


This is what the kitchen looked like when we bought the house. It was built in the 60's and we purchased it from the original owner. It was a time warp. The kitchen is a decent size thanks to the adjacent breakfast area, but the row of cabinets above the range blocked the view between the two spaces.

With an unlimited budget, I would gut the whole thing and start over with a new layout. One that included a large center island. But I don't have an unlimited budget, so I am working with the existing cabinets. For now at least. To open up the space, I removed the vent hood and upper cabinets above the range. I plan to replace the old electric stove top with a gas range. When that happens I will also have a downdraft vent installed.


It is so nice not to have to bend over to look under the cabinets when the kids are at the kitchen table and it makes the space so much more functional for when we entertain. Everyone loves to congregate in the kitchen!

As you can see in the picture above, the corner cabinet extended just far enough past the wall to look out of place once the others were removed. Unfortunately, it also extended into the corner leaving an odd nook once it was gone. 

 I decided to install open shelves here with some inexpensive wood brackets I found at Lowe's. I painted them along with the shelves the same as the wall color (BM Elephant Tusk). I have enjoyed having my everyday plates and bowls in easy reach. 


I also painted the upper cabinets the same color as the wall and the base cabinets are painted BM Ashley Gray. I plan to install stone countertops (and new appliances) in the future, but it is not in the budget at the moment. I was so tired of looking at the bad 60's faux granite laminate that I decided to paint it as well. It was so ugly I figured that even if the paint job looked awful it would be better than before!


I rolled on two coats of Zinsser BIN Primer and was amazed at how much better the room looked already!


I then painted two coats of BM Midnight and sealed it with two coats of polyurethane. I have been pleased with how it has held up. No scratches yet!


I even had a little help with the edges...


I also installed all new brass hardware which helped the space feel updated. The knobs and pulls are by Martha Stewart for Home Depot.


Nothing like a good before & after!


It is amazing what a coat of paint (or two) can do! 


Wednesday, February 13, 2013

Nursery & Animal Art

I am working on decorating Bob's "big boy" room since his baby brother is getting the nursery set up that both Anne and Bob have used. Here are some pictures of our nursery over the years. I could not find a good picture of the nursery in the "Anne year's" but here is a picture of her in the crib. This shows the pink linen drapes that hung on the canopy. I loved this detail on the crib and was sad to pack it away when Bob was born (and sad that I won't be able to use them again with #3). I guess I need to have blue ones made!


Here is the nursery during the "Bob year's" at our old house. Most everything was the same from Anne except I removed the pink drapes on the crib.


Here is the nursery today in our new house. I need to have a new pillow made for the chair (the one shown has Anne's initials on it). I opted for the baby blue black-out drapes on the window rather than roman blinds this go round. I found that since babies sleep all the time (and the roman blinds were kind of a pain to open and close) I never had them open. I want to have sun light in the room when the baby is awake, so I thought having drapes that I can easily open and close would be nice... You can also spy the DIY "you are my sunshine" artwork I made in the background. 


 I have no art work for Bob's room and while trying to be creative I thought of pictures I took on our trip to Ireland this past summer. We saw so many beautiful sights and when looking back through my pictures I realized I took numerous pictures of animals that might be cool framed in his room. Here are a few that I am thinking of using.


I'll keep you posted on how it turns out!

Wednesday, May 2, 2012

Happy Sunshine

The other day when I was putting Anne down for her afternoon nap she kept saying something about "happy sunshine". Since it was a beautiful spring day out I thought she was saying the sunshine made her happy. She said "no sing happy sunshine" so I asked if the sunshine outside made her want to sing? By then she was getting frustrated that I didn't understand her when she said "mommy sing happy sunshine". And suddenly it clicked. She wanted me to sing "You are my sunshine" to her. My heart melted. "You are my sunshine" is the song I sang to my children when I rocked them as babies and is the song I sing whenever they don't feel good. It is also what my mother sand to me as a child. Although Anne had asked me to sing other songs to her like "EIEIO" (Old McDonald had a farm) and "Twinkle" (Twinkle, Twinkle little star), etc. she had never asked me to sing "You are my Sunshine". Since then she asks for "Happy Sunshine" whenever going to sleep! Precious.
I love the song so much I used it to make art work for the nursery. I already had the two canvases from a sale at Hobby Lobby and the blue paint was leftover from the ceiling. I think they turned out cute for a cheap, easy afternoon project!

Thursday, March 1, 2012

DIY Painted Rug


We moved Anne out of the nursery when Bob was born and into her big girl room. She is still in a crib, but the room also has a queen sized bed and it is decorated in a color palette she can grow into (Grey, Hot Pink, Purple and Lime). Luckily, it was a smooth transition and she loves her new room. The room is fairly large, so I needed a big area rug to fill the space. The 12x15 rugs I liked were all expensive, so when I came across this DIY project I thought I would give it a try. I took two 6x9 Ikea area rugs ($39 each) painted them, and then bound them together to make one large rug. I think it turned out great. Easy and cheap project!

Taping out my pattern... I decided to go with something graphic. I have seen other examples where they used a stencil for a more traditional look.


I only did one coat of paint.

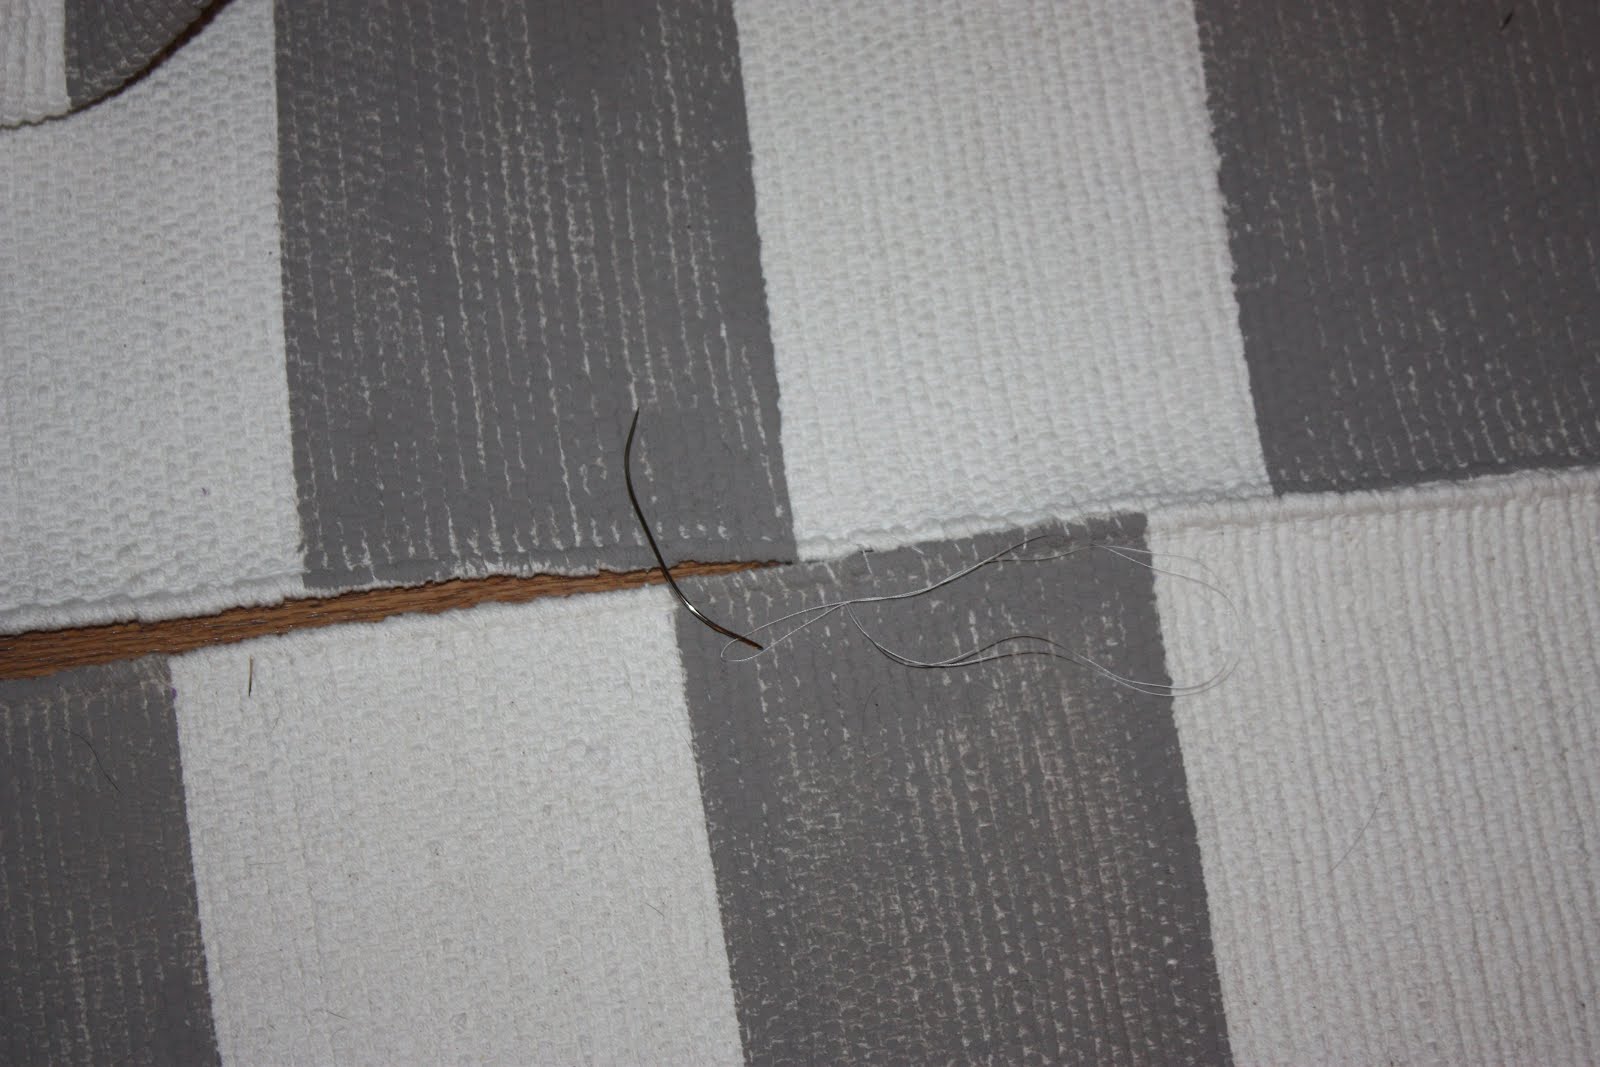
I used an upholstery needle and thread to bind the two rugs together.


Finished project!

Saturday, February 25, 2012

Hidden Laundry


We renovated our kitchen last year and I took that opportunity to hide our washer and dryer (they are located in the kitchen) and provide more storage for our pantry items. The new upper cabinets also conceal our coffee maker, microwave, and toaster oven. I love having the clutter put away!


The washer and dryer area before...


I used Benjamin Moore's "Edgecomb Gray" for the walls and upper cabinets and Benjamin Moore's "Ashley Gray" for the lower cabinets. The countertops are Crema Marfil Marble. We love the way it turned out!